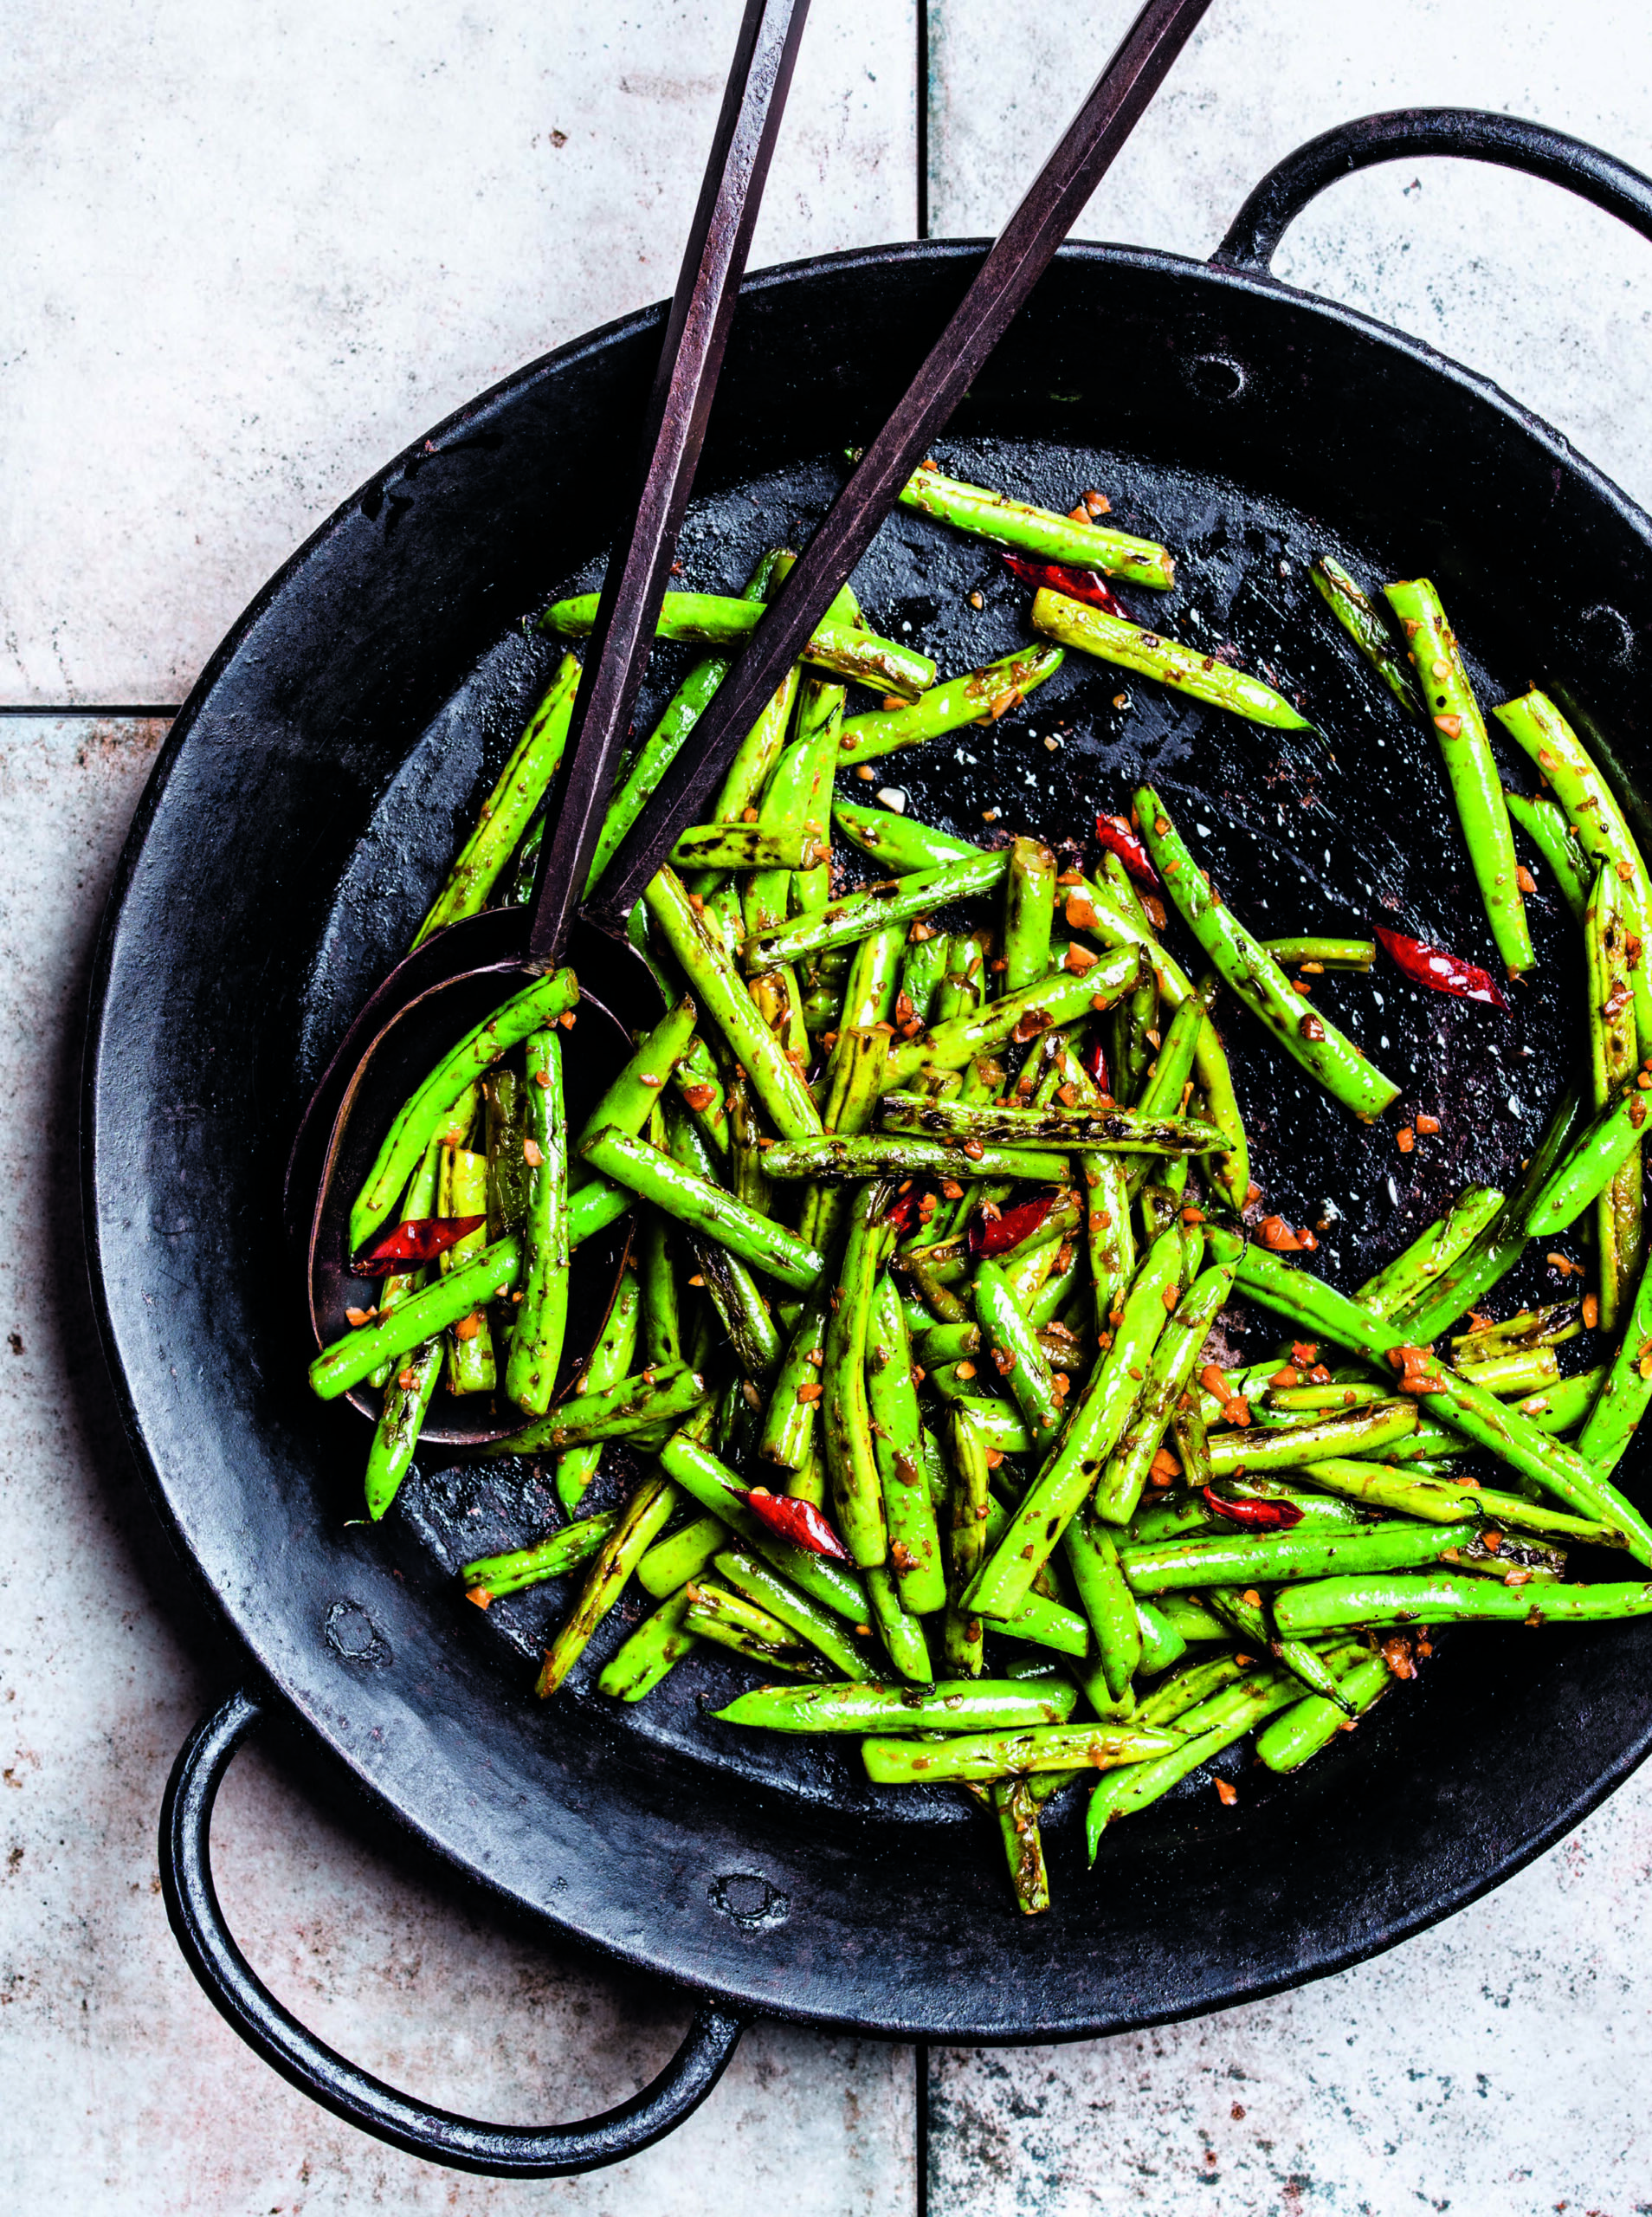
Dry-frying is a classic technique that, despite its name, doesn’t involve a completely dry pan but rather a pan with a very small amount of oil. Dry-frying takes moisture out of the ingredients and makes them crispy. I love to dry-fry my green beans because this technique gives the green beans a nice charred flavor without resulting in overcooked and listless green beans. Tien Tsin chiles are small, mild dried chiles that impart lots of smoky chile flavor. Depending on where you live, they can be hard to find, but I recommend going to stores specializing in Chinese foods, a spice shop, or substituting with another small dried pepper such as chile de arbol.

Dry-fried Green Beans
Ingredients
- 3 cups (about 12 ounces) fresh green beans, ends trimmed
- 3 tablespoons neutral cooking oil, such as grapeseed or avocado
- 1 tablespoon Sichuan peppercorns
- 5 Tien Tsin chiles (or another small dried chile, such as chile de arbol), sliced into 1⁄3-inch rings (optional)
- 3 garlic cloves, minced
- 2 teaspoons fresh grated ginger
- 2 teaspoons light soy sauce
Instructions
- In a small bowl, use a fork to combine the flour, butter, sugar, and red food coloring. Once the butter has been incorporated, use your hands to knead the topping dough into a smooth texture. You may want to wear gloves to prevent the food coloring from tinting your hands pink. The mixture should resemble a light pink sugar cookie dough. Set the mixture aside.
- In a large sauté pan, add the oil and Sichuan peppercorns. Heat the pan over medium heat and toast the peppercorns for about 4 minutes, until they start to darken. With a spatula or large spoon, scoop the peppercorns out of the pan and discard. (Don’t worry if you can’t get every single one.)
- Preheat the oven to 350°F. Line a baking sheet with parchment paper or aluminum foil and set it aside. Roll the topping into a ball and place onto a piece of parchment paper, wax paper, or plastic wrap. Roll or press the topping out into a 5-to 6-inch circle. Flip the bowl with your dough over onto a cutting board, and flatten into a 5-to 6-inch disc. Place the topping on top of the scone dough with the parchment paper facing up. Carefully remove the parchment paper from the topping and gently press the topping to seal it to the scone dough. This should look kind of like a frosted sugar cookie.
- With a large chef’s knife, cut the dough into 8 triangular pieces. To decorate the scones, you can get creative or stick to more traditional designs. I like to cross hatch the topping of the scones with a paring knife, or make the more traditional cut of five curved lines along the top meant to resemble a concha (or shell). The knife should score right before it reaches the actual scone dough. If you don’t want to use a knife, you can make the curved lines with a metal measuring cup. Hold the cup facing downward and press one edge of the cup down into the topping to make five evenly spaced curved lines. Once all the scones have a design, arrange them at least 11⁄2 inches apart on the prepared baking sheet. Chill in the fridge 10 minutes before baking. Bake for 20 minutes, or until the bottom edges start to look golden brown. Let cool for at least 10 minutes. Serve immediately or store in a sealed bag or container for up to 1 week.
Notes
 Recipe reprinted with permission from Flavor+Us: Cooking for Everyone by Rahanna Bisseret Martinez (Ten Speed Press, an imprint of Penguin Random House, 2023). Photography by Ed Anderson.
