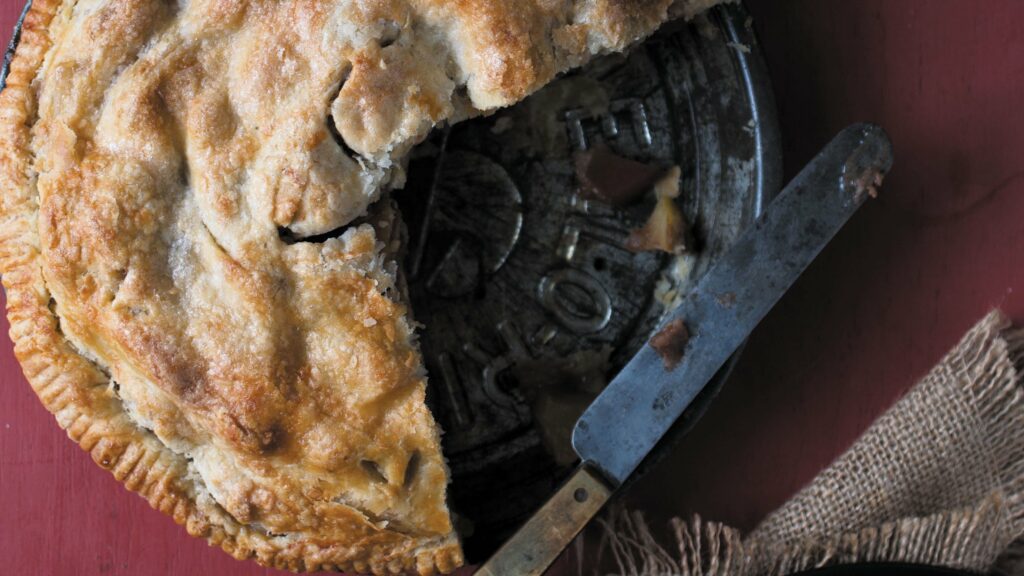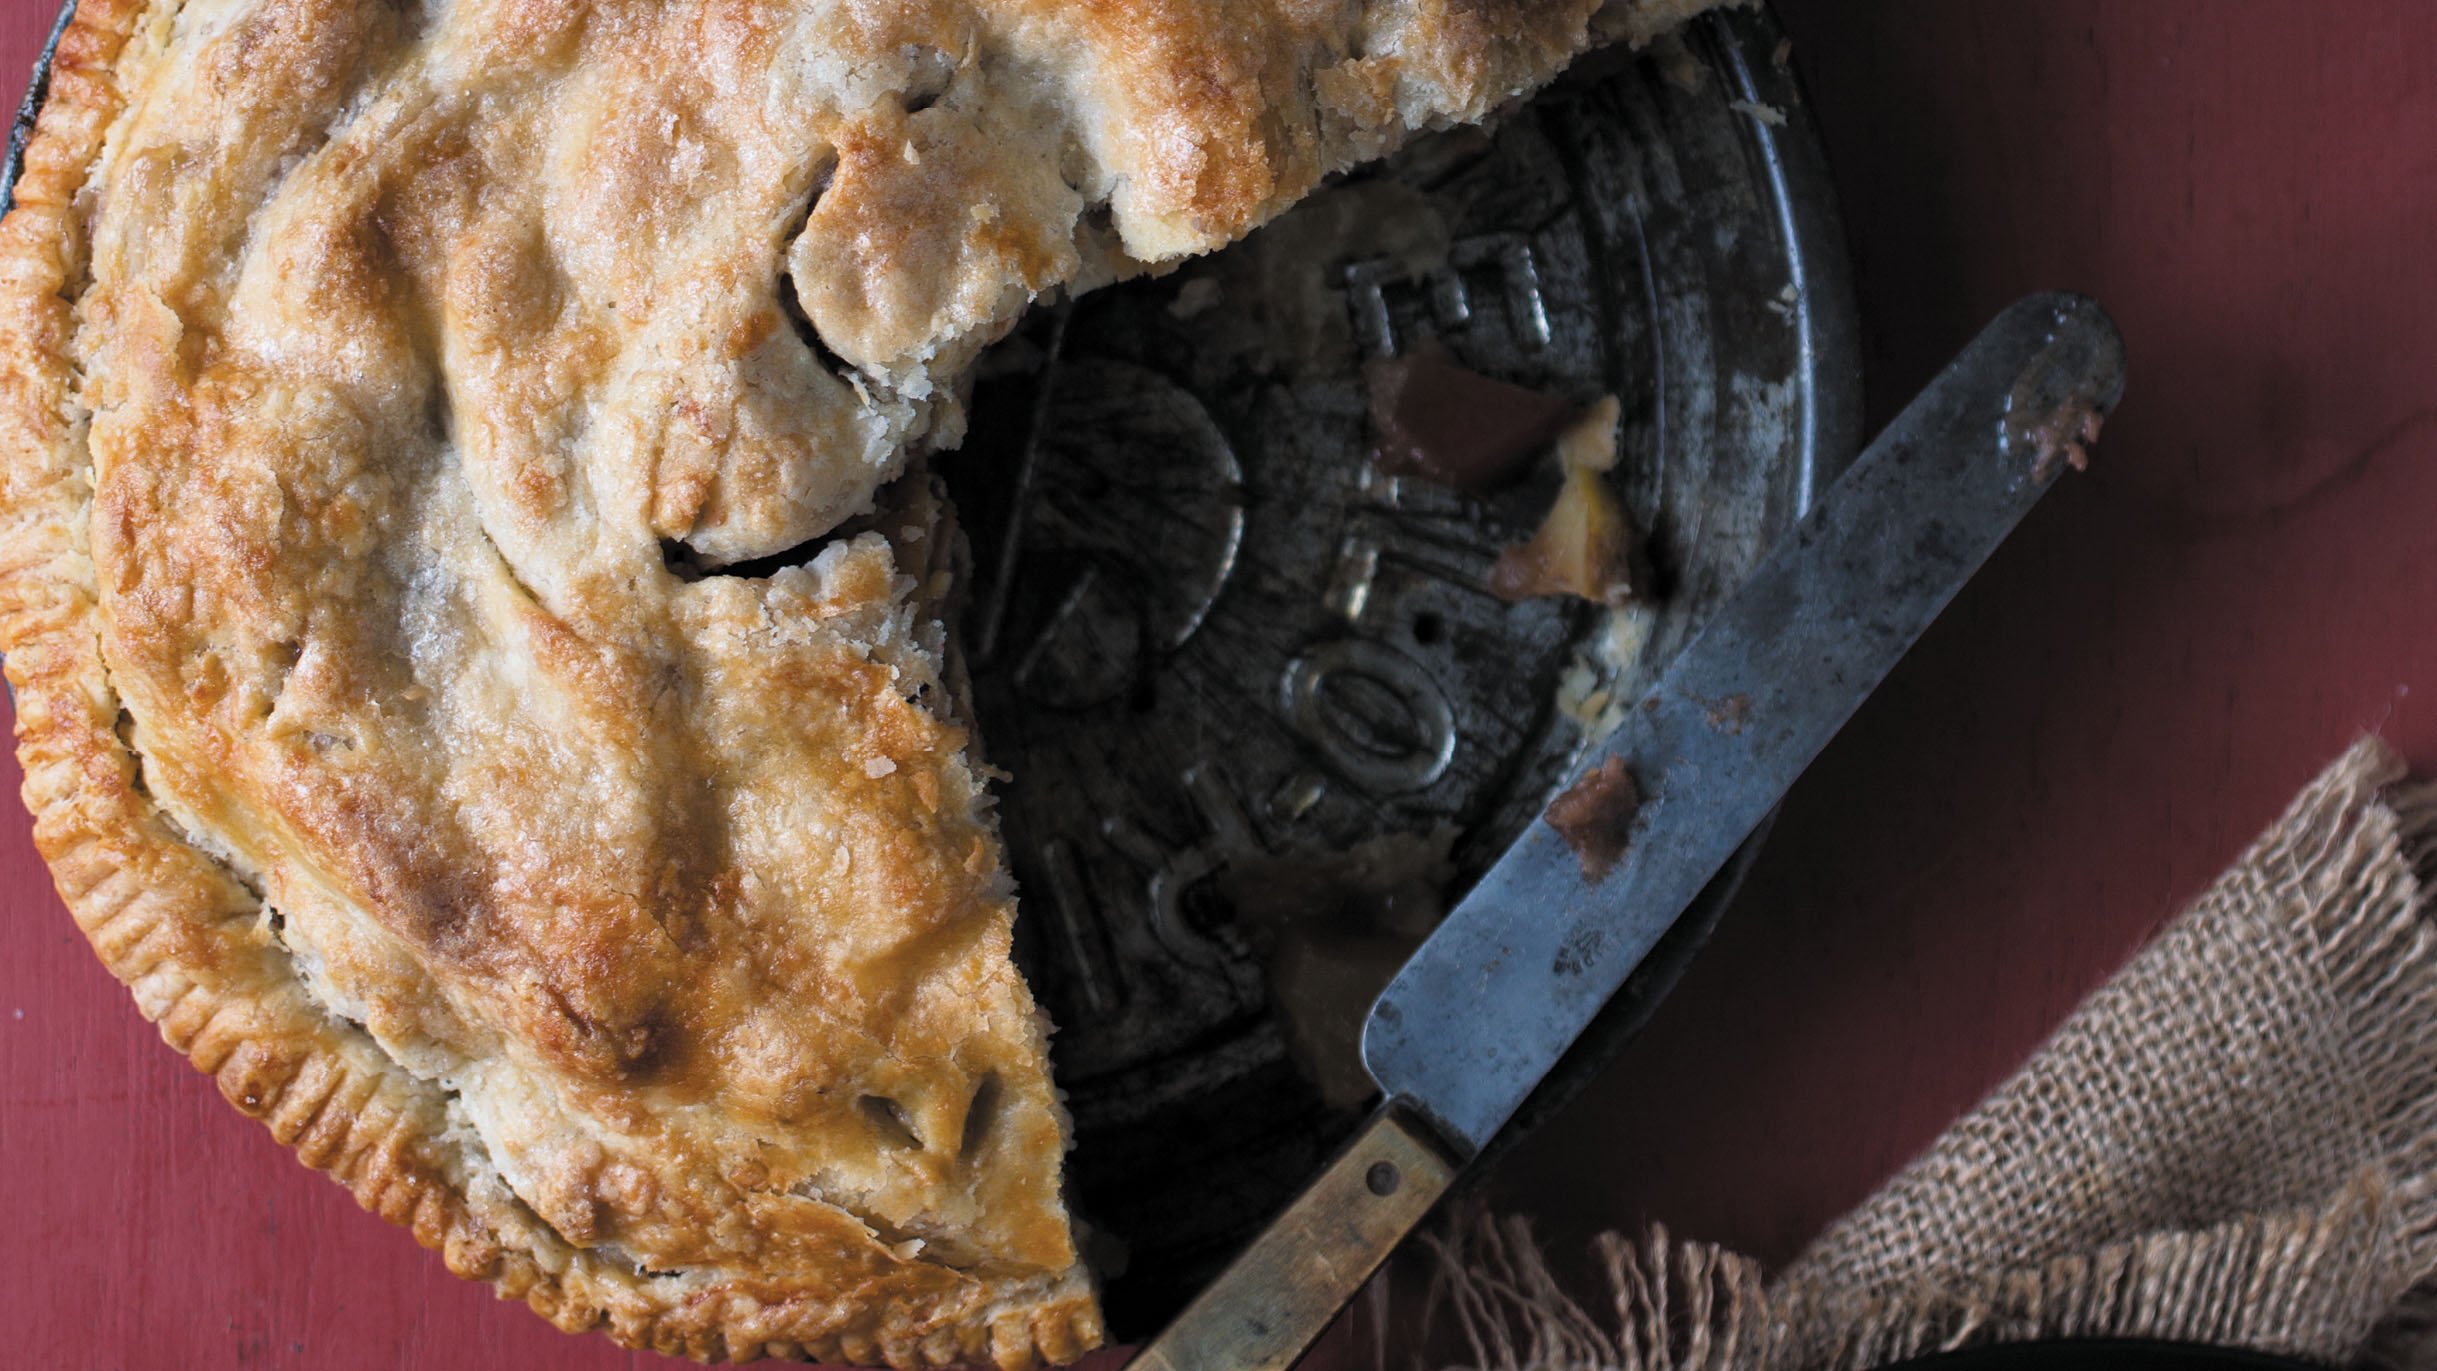
Fruit, sweetener, seasoning, thickener, and taste are the key elements to making fruit pie. With the simple steps in this master recipe, we can use any fruit—either fresh or frozen—and choose and adjust sweeteners and seasonings to our own taste, for limitless variations of easy-to-make delicious pie. If using frozen fruit, don’t defrost beforehand, as doing so let loose its juice before the pie is ready to be baked. Use frozen fruit exactly as if it were fresh. Okay, now let’s get creative with fruit pie.
You’ll need Kate’s dough recipe and fruit chart to make your fruit pie.
Kate’s Recipe for Roll-Out Dough
Fruit Chart
More Pie Tips from Kate McDermott
Ingredients and Amounts for Fruit Pie Fillings
A 9-inch deep-dish pie pan will hold about 6 cups, about 1½ to 2 pounds of fruit.
A 9-inch shallow pie pan will hold about 4 cups of fruit, about 1 to 1½ pounds fruit.
Use the smaller amounts of sugar, seasoning, and thickener for a shallow pie pan.
Apples and pears can be mounded up in the pie pan, but don’t mound juicy fruits.
Sugar amounts are suggestions and should be based on the sweetness of the fruit.
Seasonings are also suggestions. Feel free to add other spices you like. Always take a taste of the filling to adjust amounts to your own taste before baking.
Tips for the Tops
Rule #3 of pie making: Vent. A fruit pie needs vents to allow the heat and steam to come out so a boiling filling won’t burst through unexpectedly in a weak spot. It’s important to let the heat out in ourselves, too, and creating vents on top of a pie is a way to vent in a positive manner.
Vents are a pie maker’s signature. They can be simple slashes in various shapes: arrows, herringbone, star, A for apple, or X, Y, or Z. Intricate designs, using cookie cutters or a sharp knife, can also be achieved by cutting through the top of a rolled-out dough when it is still on the rolling mat. The top is then carefully transferred and centered to cover a filling. Of course, a few slashes with a knife, or pokes with the tines of a fork, on a pie top just before it goes into the oven are fine, too.
Here are some other ideas for creative venting:
A sunburst with ½-inch (1.25 cm) strips that meet in the middle and are topped with a circle. Pinwheel shapes that meet in the middle. A long 1-inch- (2.5 cm) wide strip that starts in the center and spirals out to the edge. Splice together strips with a little water as needed.
Washes for the Top
To apply a wash, use a brush that is made of either natural bristle or easy-to-clean silicone. A crushed-up piece of parchment paper or sheet pan liner works, as will your fingers. Each wash or glaze will give a slightly different look to the top of a pie. Here are a few to choose from and how to make them.
Whole Egg With Water: In a small bowl, place a whole egg (both yolk and white) and fork beat with 1 tablespoon water until mixed and spreadable.
Egg Yolk With Water: In a small bowl, place an egg yolk and fork beat with 1 tablespoon water until mixed and spreadable.
Egg White Only: In a small bowl, place an egg white and fork beat until spreadable.
Egg Yolk With Milk: In a small bowl, place an egg yolk and fork beat with 1 tablespoon milk until mixed and spreadable.
Egg White With Water: In a small bowl, place an egg white and fork beat with 1 tablespoon water until mixed and spreadable.
NOTE: Gluten-free dough does not brown as well as dough that is made with all-purpose flour, so I suggest using a wash with an egg yolk to get more color.
How to Choose Thickener for Fruit Pie Filling
I stick with three main thickeners: flour, cornstarch, and quick-cooking tapioca.
Flour: I use flour in many fruit pie fillings, and I find it does especially well for apple and pear. Mix it well into the filling. Look for some slight bubbling to come out of the vents or lattice when the filling is done.
Cornstarch: When making a stove-top fruit filling, I use cornstarch. Cook the filling until it is opaque and shiny, and make sure the filling is bubbling before removing it from the oven. Cornstarch can also be used for an oven-baked fruit filling. Using too much cornstarch or under-baking can make for a gloppy filling. Cornstarch is ideal for a creating shiny filling in a cherry pie, and great for a cranberry pie, too.
Tapioca (Quick-Cooking and Flour): This is especially great for juicy fruit fillings like berries and stone fruits. When using quick-cooking tapioca, I place all the ingredients in the bowl, mix, and then let sit for 10 to 15 minutes. The little pieces of tapioca will soften up some during that time. You may still see some pieces floating around in your pie, but they will be soft. Tapioca must reach a temperature that is high enough for it to thicken a filling properly. Look for steady bubbling coming through the vents or lattice.
Combining Thickeners: It is fine to use more than one thickener with fruit that is especially juicy, like rhubarb. Some quick-cooking tapioca or cornstarch, in addition to flour, will help that filling thicken up. Always look for bubbling coming through the vents or lattice.
How Much Does That Pie Pan Hold?
I bake in pans that are round, oval, square, rectangular, and hexagonal. I even have one that is in the shape of the pi symbol for use on March 14. Roughly, my collection is a bit over 100 pie pans, but the number fluctuates—sometimes a pie pan doesn’t make it back home after it leaves my kitchen. I don’t worry too much about it, as usually another shows up to takes its place. What I have noticed in having a collection of this size is that there is some variation in how much a pie pan holds. So keep that in mind and make a note for yourself for the next time you use that pan.

Kate McDermott's Master Recipe for (Any) Fruit Pie
Ingredients
- 1 recipe Roll-out Dough (linked)
- 4-6 cups fruit (see chart, linked)
- 3/8 to 1 1/4 cups (75 to 225 g) granulated sugar (refer to chart)
- 1/4 to 1/2 teaspoon salt
- 3/4 teaspoon spices of choice (refer to chart)
- 1-2 gratings or pinch nutmeg (if using, refer to chart)
- Thickener (refer to chart)
- Lemon, apple cider, or other fruit-flavored vinegar (refer to chart)
- Liqueur (optional; refer to chart)
- 2 teaspoons (9 g) butter, chopped into little pieces
- 1-2 teaspoons granulated or demerara sugar, for sprinkling on top of the pie
- Egg wash 1 egg white plus 2 teaspoons water, fork beaten
Instructions
- Make the pie dough and chill in the fridge while you make the filling. Also place the pie pan in the fridge or freezer to chill.
Prepare the fruit
- Apples: should be peeled if the skin seems thick, as on Granny Smiths or Cosmic Crisps, then slice or chunk them up into pieces you can comfortably get into your mouth, but not so big that they may still be crunchy at the end of the bake time. Stone fruits, such as peaches, nectarines, plums, and cherries, will need to be pitted and, if needed, chopped or sliced into a smaller size. Berries, unless exceptionally large like some strawberries, can be kept whole. Rhubarb should be cut into pieces about ¾ inch (2 cm).
- In a large mixing bowl, place the fruit, sugar, salt, spices, optional liqueur, and thickener and mix lightly until most of the surfaces are covered. Taste the filling and adjust the sweetener and seasoning to your own taste.
- Roll out one disc of the dough and place in the chilled pie pan.
- Pour the filling into the unbaked pie shell and dot with the butter.
- Roll out the remaining dough, lay it over the fruit, and cut five or six vents on top, or make a lattice top. Trim the excess dough from the edges and crimp.
- Watch Kate's video if you want to make a lattice top.
- Cover the pie and chill in the fridge while you preheat the oven to 425°F (220°C).
- Bake for 20 minutes.
- Turn the oven down to 375°F (190°C) and bake for another 20 minutes.
- Open the oven, carefully remove the pie, set it on a heat-safe surface, and close the oven to keep the heat inside. Quickly and carefully brush the top of the pie with the egg wash and then sprinkle lightly with sugar. Return the pie to the oven and continue baking at 375°F (190°C) for an additional 20 minutes.
- Look for steam and a slight bit of juice coming out of the vents before removing it from the oven. Get your ear right down almost to the top of the pie and listen for the sizzle-whump, which some call the pie’s heartbeat.
- Cool for at least 1 hour before slicing.
Notes
 Excerpted with permission from Pie Camp: The Skills You Need to Make Any Pie by Kate McDermott. Copyright 2020 by Kate McDemott. Published by The Countryman Press, a division of W.W. Norton. Photographs by Andrew Scrivani.
